


Are you thinking about building a WordPress site but still need to get ready to go live? Installing WordPress locally on your computer is the perfect solution! It’s like having a mini-internet right on your desktop, where you can test, play, and experiment without any pressure. In this blog, I’ll give you through how to install WordPress using XAMPP in a few simple, beginner-friendly steps.
What are the benefits of using xampp for localhost?
So, why is XAMPP the favorite tool for so many WordPress developers? Well, imagine it as the eagle eye of local servers. Here’s why:
- Totally Free: No hidden fees, no catches—just pure and open-source.
- Everything in One Place: XAMPP bundles of provide Apache, MySQL, PHP, and Perl, giving you everything you need to run a WordPress site locally.
- Works Across All Platforms: Whether you’re on Windows, macOS, or Linux, XAMPP has your behind.
- Perfect for Beginners: XAMPP can be used without the need for technical knowledge. Its design focuses on simplicity.
- Safe Playground: It is safe to test your plugins, themes, and other features without fear of breaking down a live website.
Let’s Get Started: Step-by-Step WordPress Installation Using XAMPP
Follow these easy steps and try, you’ll have WordPress running smoothly on your local machine!
Step 1: Download and Install XAMPP
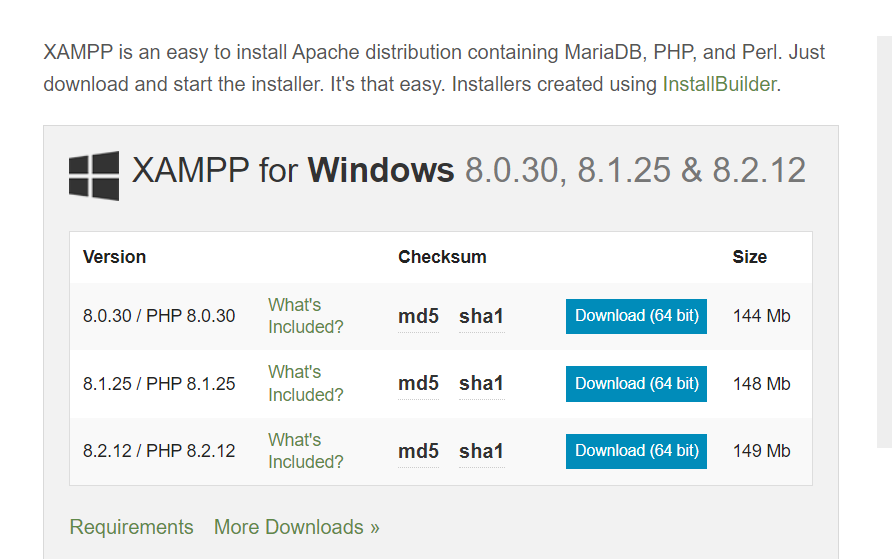
at first —download XAMPP. Head over to the official XAMPP website, and download the version that works for your operating system like that Windows, macOS, or Linux. Once it’s downloaded, start the installation process.
- Choose the version for your operating system.
- Follow the on-screen instructions. When you seen this and choose options, make sure Apache, MySQL, and PHP are selected. These are essential for running WordPress locally.

Step 2: Start Apache and MySQL
Once XAMPP is installed, it’s time to fire up your local server.
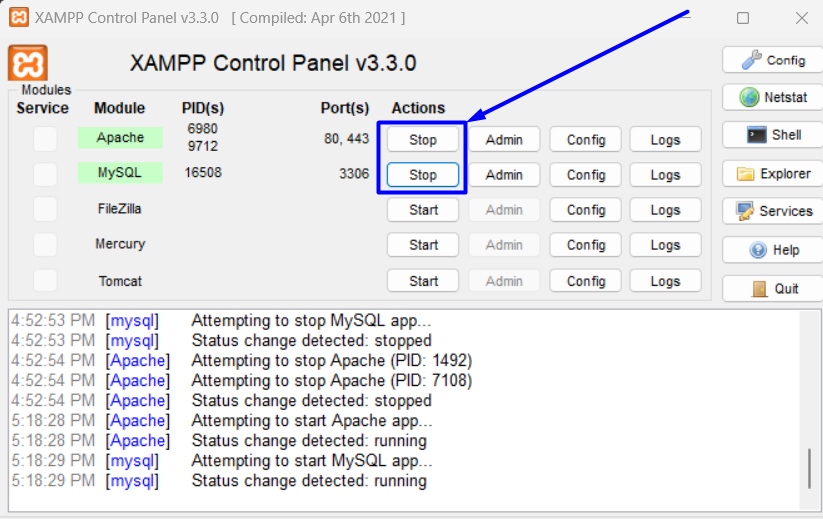
- Open the XAMPP Control Panel (it’s installed along with XAMPP).
- Click Start next to both Apache and MySQL. When they turn green, you’re all set! Your local server is live.

Step 3: Create a Database for WordPress
WordPress needs a database to store all your data for your WordPress site. Don’t worry—it’s very simple!
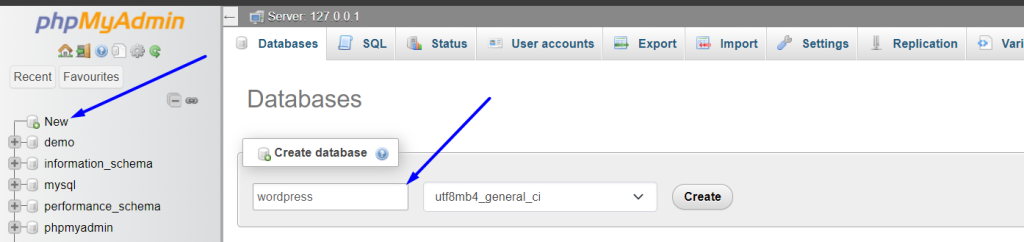
- Open your web browser and type http://localhost/phpmyadmin into the search bar.
- Once you’re in the phpMyAdmin panel, click on the Databases tab.
- Give your new database a name (like wordpress), then click Create. That’s it!

Step 4: Download WordPress
This time grab a copy of WordPress! Go to the official WordPress website and download the latest version.
- Once it’s downloaded.


2. Then extract the contents of the zip file to a folder on your computer.

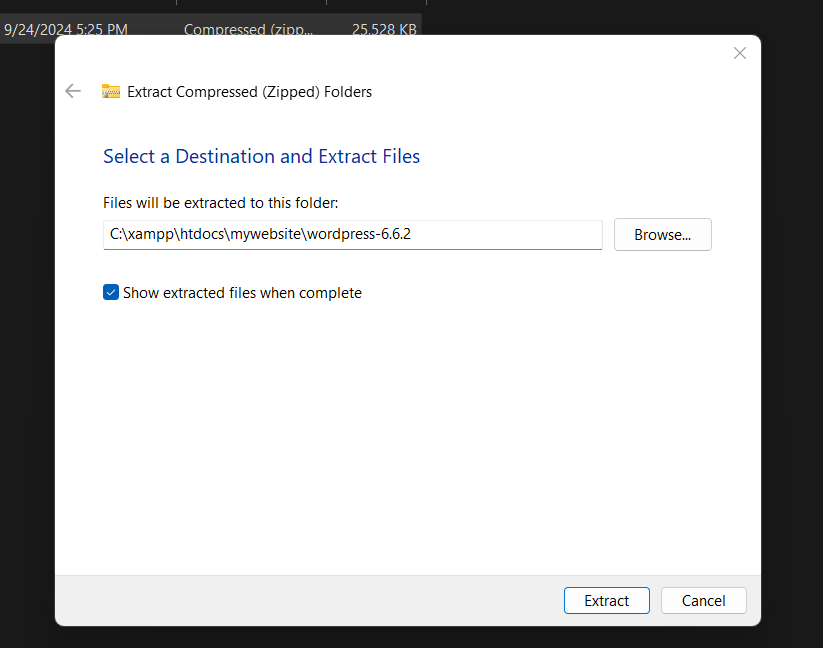
3. Then you see the extract folder .

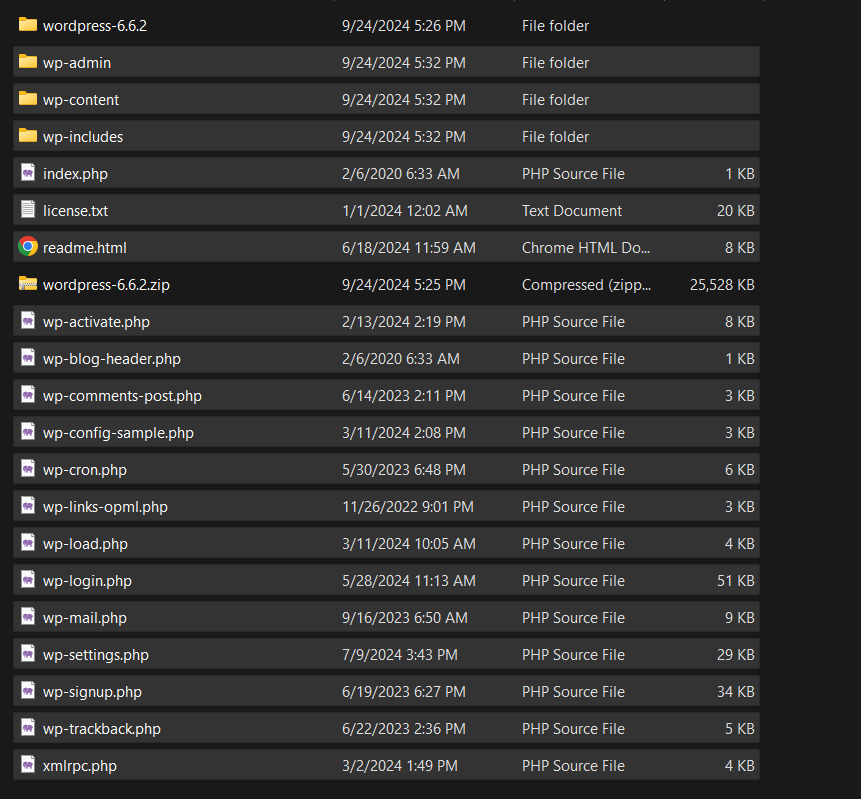
3. Then you copy all file.
.
Step 5: Move WordPress Files to XAMPP’s htdocs
It’s time to, you need to move the WordPress files into XAMPP’s “htdocs” folder. So this folder can be accessed by your local server.
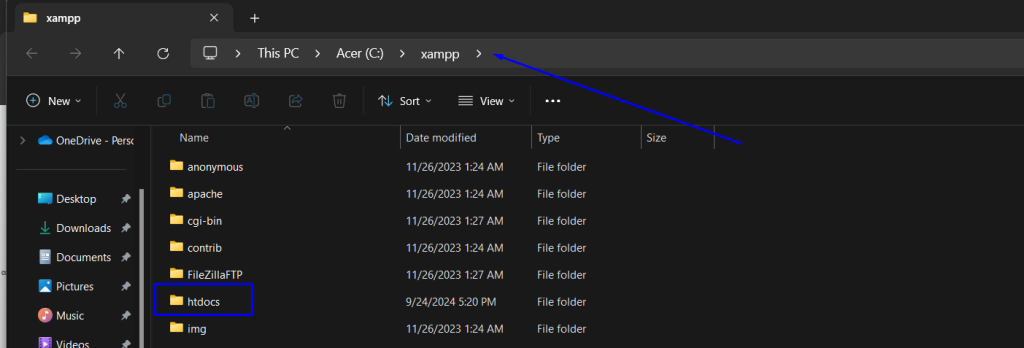
- Go to the folder where XAMPP is installed (usually C:/xampp/ on Windows).
- Open the htdocs folder.

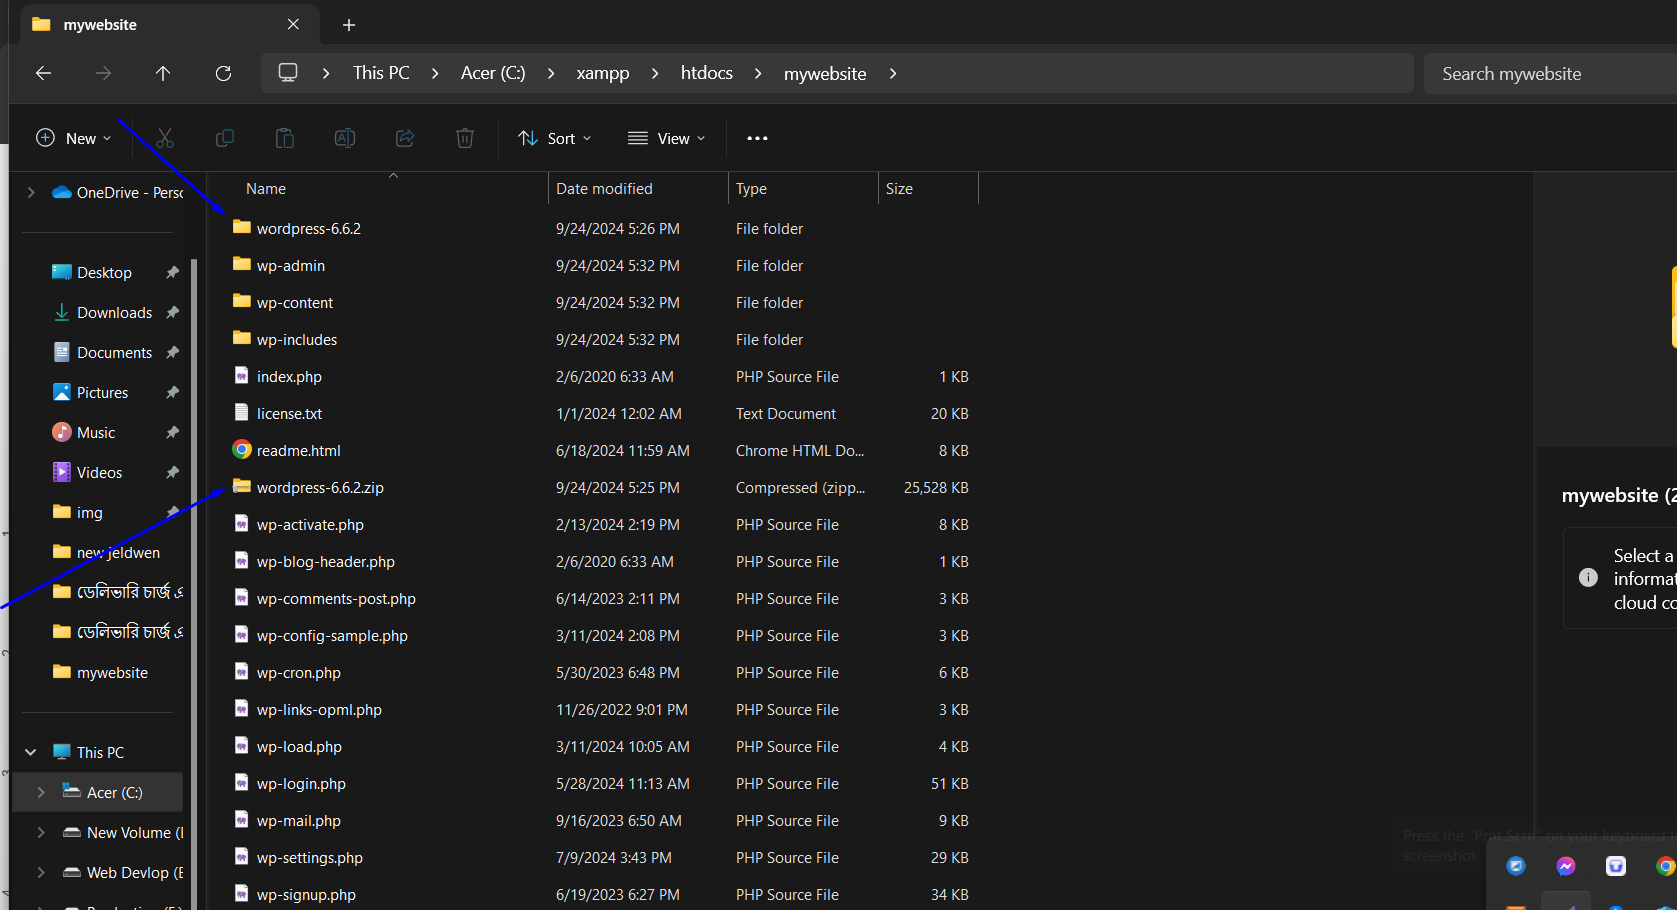
3. Copy the WordPress folder name and paste it here. Rename it to something simple like mywebsite. Then delete the wordpress zip file or unnecessary files on this folder.

Step 6: Install WordPress Locally
Here’s where the magic happens!
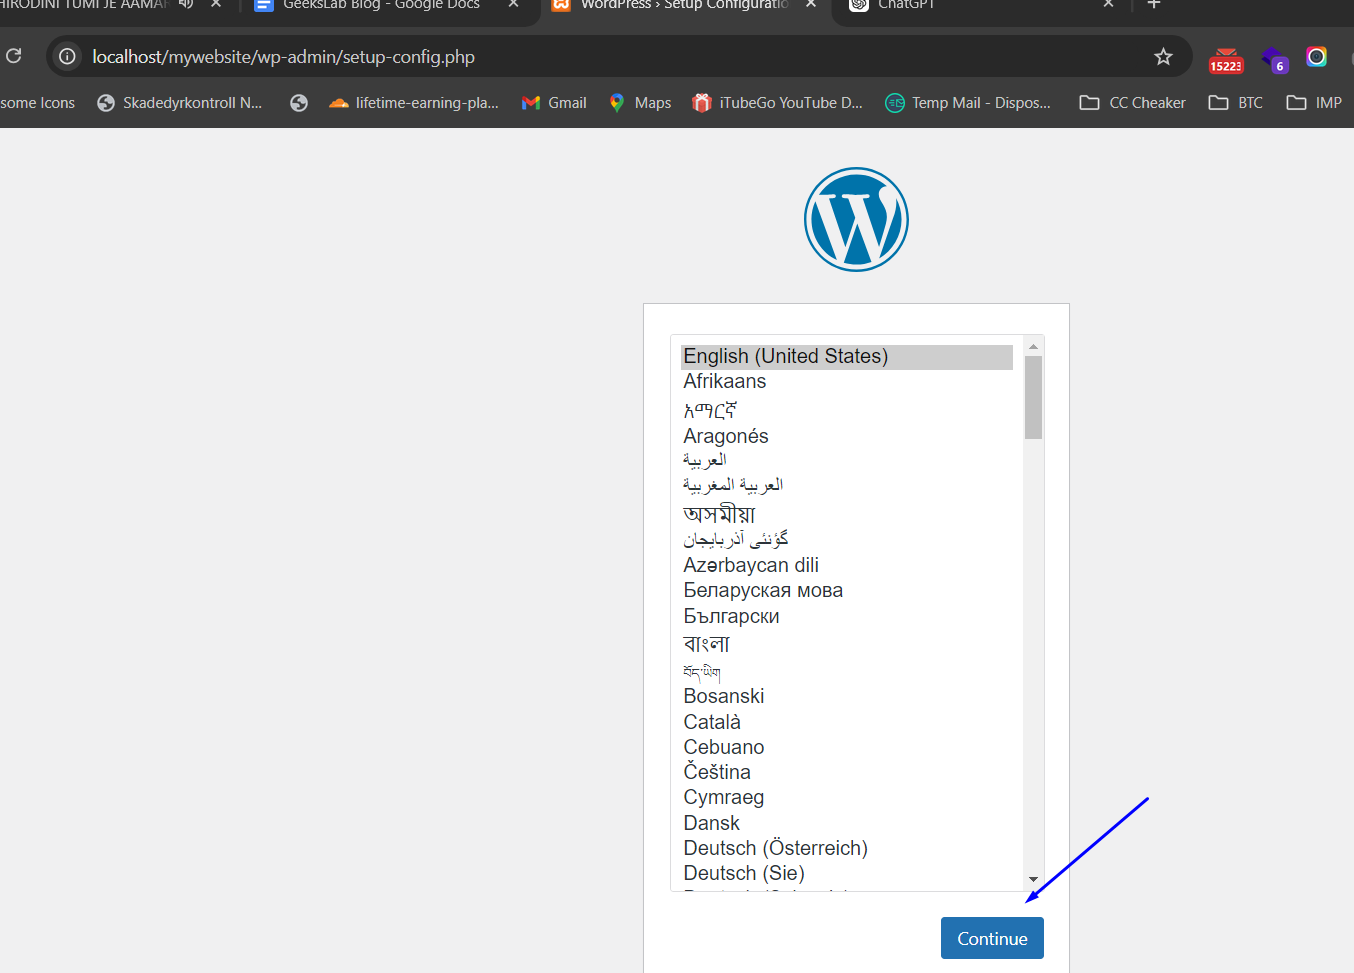
- In your browser, type http://localhost/mywebsite (replace mywebsite with whatever you named the folder).
- Choose your wanted language and click Continue.

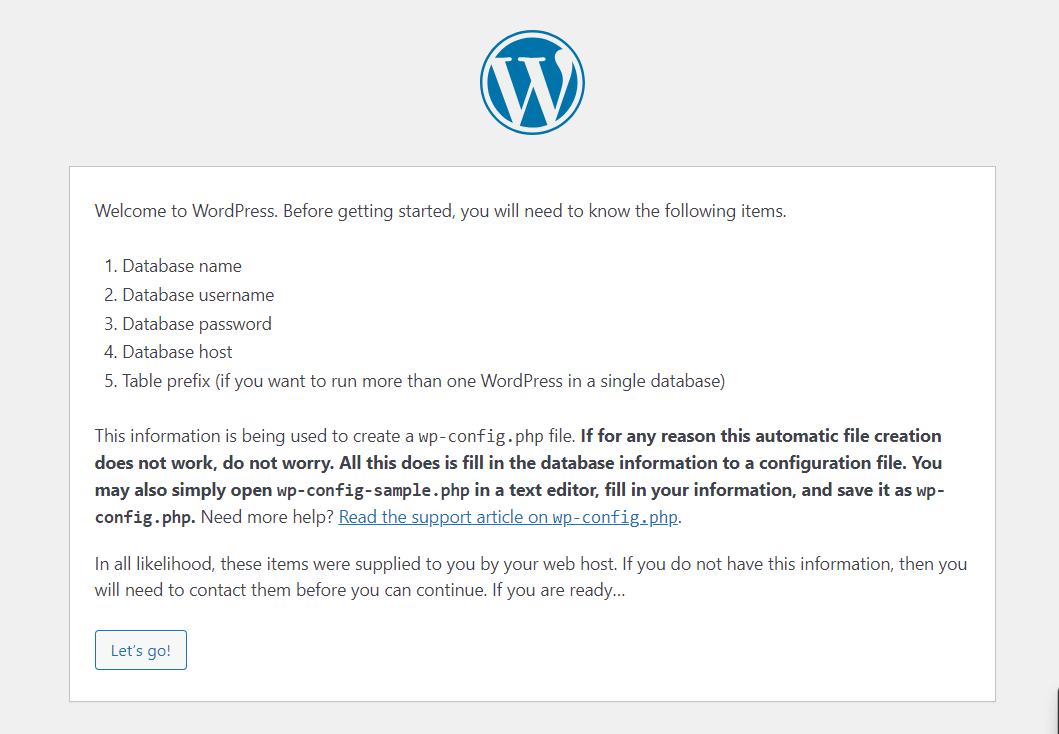
3. You will show ‘welcome to wordpress page ‘on the next screen. Then click ‘Let’s go!‘ button.

4. On the next screen, you’ll need to fill in your database details:
- Database Name: Enter the database name you created there (like WordPress).
- Username: root.
- Password: Leave this blank.
- Database Host: localhost.
Table Prefix: You can leave this as wp


5. Click Submit, then click Run the Installation.
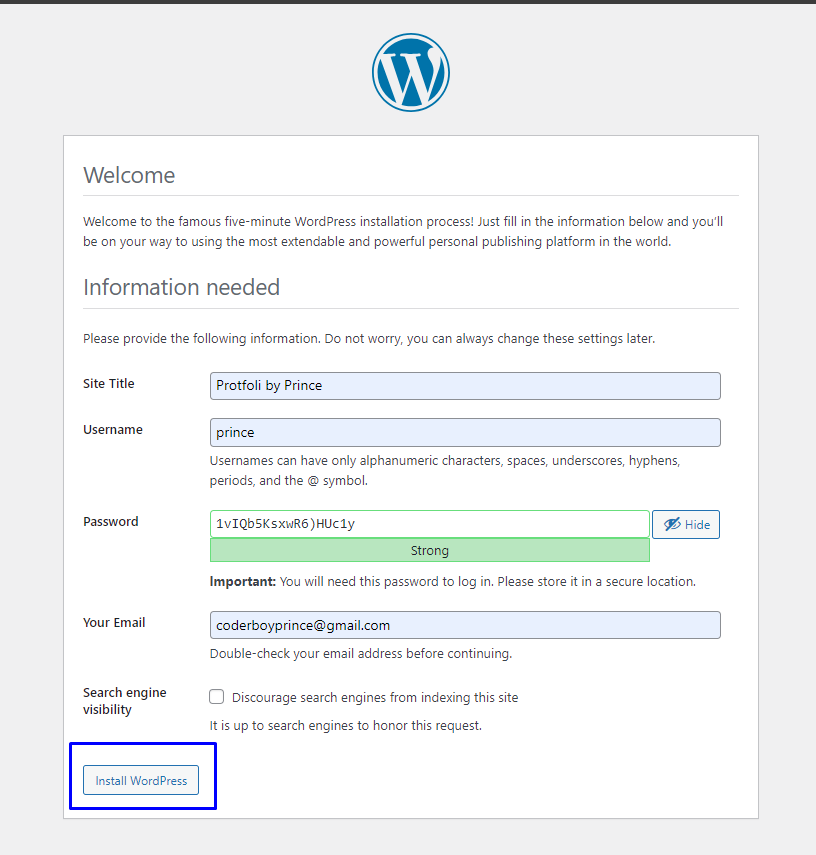
6. You’ll now enter your site details—like the site title, your username, and password for logging in, and your email. Hit Install WordPress and you’re done!

Step 7: Login and Start Building Your Site
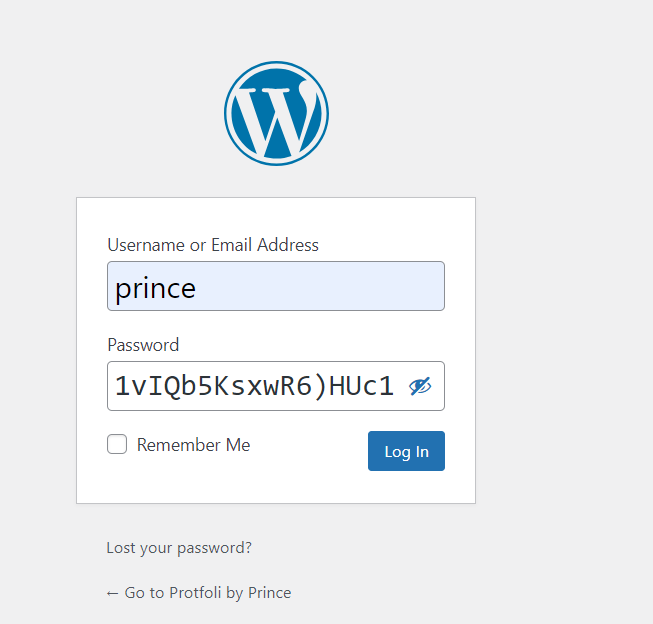
Congratulations! You’ve successfully installed WordPress locally. Now you can log into your new site by going to this url http://localhost/mywebsite/wp-admin and (again, replace mywebsite with your folder name).
Use the username and password you set up earlier—you’ll land in the WordPress dashboard, ready to start building your site and play with this!

Final Thoughts
You’ve just installed WordPress locally using XAMPP. This setup gives you the perfect space to test your plugins or themes ideas, try new plugins, or build an entire website before going live. Think of it as your own little web development playground where mistakes don’t matter, and creativity can run wild.
From there on, the sky is the limit. Happy building!


